Guide
Best Home Gym Under $500
A detailed breakdown of exactly what to buy if you have $500 to spend. Three proven setups for every training style and space constraint.
Home › Guides › Beginner’s Guide
Last updated: March 2026
Building a home gym is one of the best investments you can make in your health — but getting started can feel overwhelming. What equipment do you actually need? How much should you spend? Where do you even put everything?
This guide walks you through the entire process from start to finish. We’ll cover how to assess your space, set a realistic budget, choose the right equipment for your goals, and avoid the most common beginner mistakes. Whether you’re working with a spare corner of your bedroom or a two-car garage, you’ll have a clear plan by the time you’re done reading.
The case for a home gym comes down to three things: money, time, and consistency. Let’s start with the numbers.
The average gym membership in the US costs between $40 and $60 per month. Add in gas, parking, and the occasional smoothie bar impulse buy, and you’re looking at $50-$75 per month in real costs. Here’s how that stacks up against a one-time home gym investment:
| Timeframe | Gym Membership ($50/mo) | Home Gym (One-Time Cost) | Your Savings |
|---|---|---|---|
| Year 1 | $600 | $500 – $1,000 | Break even or slight cost |
| Year 2 | $1,200 | $0 (already paid) | $200 – $700 saved |
| Year 3 | $1,800 | $0 (already paid) | $800 – $1,300 saved |
After year one, your home gym is essentially free. Every month that passes, the math tilts further in your favor. And that’s before you factor in the commute time you’re saving — most people spend 20-40 minutes getting to and from the gym per session. Over a year, that’s 50-100+ hours of your life back.
The real benefit of a home gym isn’t financial — it’s the removal of friction. No driving. No waiting for equipment. No scheduling around gym hours. When your gym is 10 steps away, you work out more consistently. And consistency is the single biggest factor in getting results.
A home gym also means training on your terms: your music, your pace, no crowds, and no judgment. For beginners who might feel self-conscious in a commercial gym, that alone can be a game-changer.
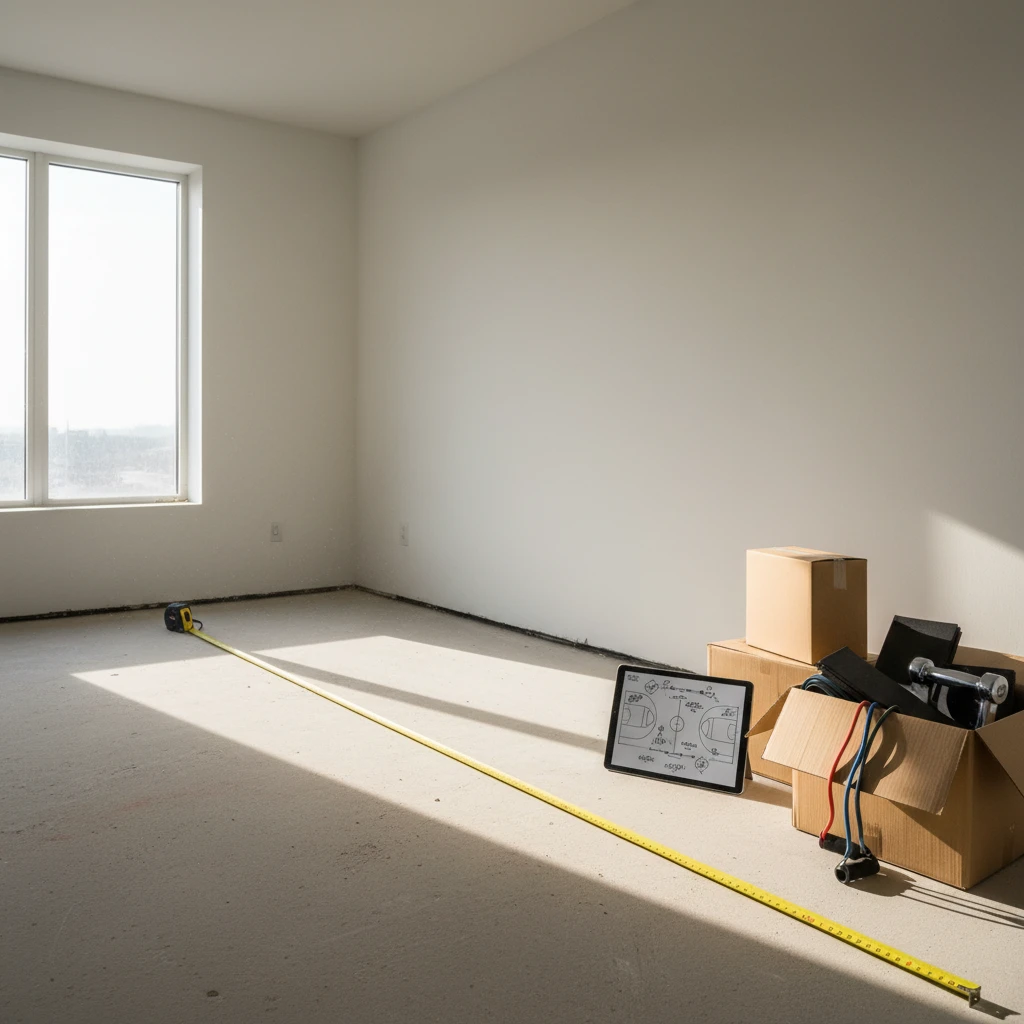
Before you buy a single piece of equipment, grab a tape measure. The space you have dictates what kind of gym you can build. Here’s what works in each setting:
A single-car garage gives you roughly 10x20 feet of floor space — more than enough for a full power rack setup with room to spare. A two-car garage is a luxury that lets you build out separate lifting and cardio zones. Garages offer the best combination of space, ceiling height, and durability (concrete floors handle heavy equipment well).
Minimum recommended dimensions: 10x10 feet for a barbell-focused gym. Ceiling height of at least 8 feet for overhead pressing inside a rack.
Watch out for: Temperature extremes (hot in summer, cold in winter), humidity that can cause equipment to rust, and limited electrical outlets if you want cardio machines.
A spare bedroom or finished basement is a great option if you don’t have a garage. You get climate control, proximity to your living space, and usually decent lighting. The main limitation is floor load capacity — standard residential floors can handle a dumbbell setup easily, but a loaded barbell rack (400+ lbs total with the rack, bar, plates, and you) may need structural reinforcement, especially on upper floors.
Minimum recommended dimensions: 8x8 feet for a dumbbell and bench setup. 10x10 feet if you want a rack.
Watch out for: Low ceilings in basements (overhead pressing may not be possible), floor protection (you’ll need rubber mats over carpet or hardwood), and noise transmission to rooms below.
Limited space doesn’t mean you can’t build a home gym — it just means you need to be strategic. Focus on compact, foldable, and multi-purpose equipment: adjustable dumbbells, a folding bench, resistance bands, and a doorframe pull-up bar. When you’re done training, everything goes back in the closet.
Minimum recommended dimensions: 5x5 feet of clear floor space during workouts. Smaller is possible with bodyweight-focused training.
Watch out for: Noise (your downstairs neighbors will hear dropped weights), lease restrictions on equipment, and limited storage space.
Your fitness goals determine what equipment you actually need. Be honest with yourself about what you’ll realistically do — buying a full power rack when you mainly want to do cardio is a waste of money and space.
If your primary goal is getting stronger — bigger squat, heavier deadlift, more pressing power — you need a barbell, weight plates, a power rack, and a bench. This is the most space- and budget-intensive setup, but it’s also the most effective for building raw strength. Programs like Starting Strength, 5/3/1, and StrongLifts are built around these tools.
Essential equipment: Barbell, weight plates (at least 300 lbs), power rack with safety bars, flat or adjustable bench.
If you want to improve your cardiovascular fitness, lose weight through sustained effort, or train for a race, your setup centers around a cardio machine. A treadmill, exercise bike, rowing machine, or elliptical gives you the foundation. Add resistance bands or light dumbbells for supplementary strength work.
Essential equipment: One quality cardio machine (treadmill, bike, or rower), exercise mat, optional light dumbbells or bands.
Weight loss is primarily driven by nutrition, but exercise accelerates results and preserves muscle mass. The best home gym for weight loss combines some form of cardio with basic strength training. Adjustable dumbbells and a cardio machine give you everything you need for high-calorie-burn workouts.
Essential equipment: Adjustable dumbbells, a cardio machine (even a jump rope counts), exercise mat.
If you just want to feel better, move better, and stay healthy without chasing specific performance goals, you have the most flexibility. A pair of adjustable dumbbells, an adjustable bench, and some resistance bands will cover everything from strength circuits to HIIT workouts to mobility routines.
Essential equipment: Adjustable dumbbells, adjustable bench, resistance bands, exercise mat.
Here’s the truth: you can build a useful home gym at almost any budget. The question is what you’re willing to trade off. Less money means fewer pieces of equipment, fewer exercises, and more compromises on quality. More money means more options and better gear — but there’s a point of diminishing returns.
Here’s what you can realistically expect at each budget tier:
| Budget | What You Get | Best For |
|---|---|---|
| $300 | Resistance bands, a basic dumbbell set (or budget adjustable dumbbells), an exercise mat, and a doorframe pull-up bar. Enough for bodyweight-plus training and a solid starting point. | Absolute beginners, apartment dwellers, minimal space |
| $500 | Quality adjustable dumbbells (PowerBlock or Bowflex), a flat or adjustable bench, resistance bands, and a mat. This is the sweet spot for most beginners — hundreds of exercises in a compact footprint. | General fitness, dumbbell-focused training, small spaces |
| $1,000 | A budget power rack, Olympic barbell, 300 lbs of plates, a bench, and basic flooring. Alternatively, a quality cardio machine plus adjustable dumbbells. A serious gym that handles most training goals. | Barbell training, strength programs, cardio-and-strength combos |
| $2,000 | Everything in the $1,000 tier but with better brands (REP, Titan, Rogue), plus extras like a cable attachment, additional weight plates, quality flooring, and a dedicated cardio machine. | Intermediate lifters, dedicated training spaces, long-term setups |
| $3,000+ | Premium rack (Rogue or REP), competition-grade barbell, bumper plates, cable machine, cardio machine, full rubber flooring, mirrors, and accessories. A near-commercial experience at home. | Serious lifters, garage gym enthusiasts, long-term investment |
Our recommendation for most beginners: start at the $500 level with adjustable dumbbells and a bench, then expand from there as you figure out what kind of training you enjoy most. You can always add a rack and barbell later. You can’t un-buy a $400 power rack you never use.
If you’re building your gym piece by piece — and we recommend that you do — here’s the order to buy things. Each level builds on the last, and at every stage you have a functional gym.
This is the single most versatile piece of equipment you can own. A set of adjustable dumbbells replaces an entire rack of fixed dumbbells and lets you perform hundreds of exercises — presses, rows, curls, lunges, squats, shoulder work, and more. The PowerBlock Elite ($400) and Bowflex SelectTech 552 ($429) are the two best options for most people. Both adjust from 5 to 50+ lbs per hand.
If you only buy one thing, buy these.
An adjustable bench takes your dumbbell exercises from good to great. Flat bench press, incline press, seated shoulder press, single-arm rows, step-ups — a bench unlocks all of these. Look for one with at least 6 back angle positions and a weight capacity of 500+ lbs. The Flybird adjustable bench (~$140) is the most popular budget pick. The REP AB-3100 (~$200) is a step up in quality.
A set of loop resistance bands costs next to nothing and adds a surprising amount of training variety. Use them for warm-ups, face pulls, band pull-aparts, assisted pull-ups, hip thrusts, and as added resistance on dumbbell movements. They also travel well — throw them in a suitcase when you’re on the road.
A doorframe pull-up bar is one of the best value pieces of equipment you can own. Pull-ups and chin-ups are among the most effective upper-body exercises, and a basic bar costs less than a month at most gyms. Make sure your doorframe can support your weight — check for a solid wooden frame, not hollow trim.
When you’re ready to go beyond dumbbells, a 7-foot Olympic barbell and a set of iron plates open up the big compound lifts: squats, deadlifts, bench press, overhead press, and barbell rows. The CAP OB-86B bar (~$120) is a solid budget choice, and a 300 lb plate set runs about $250 new (or $150 used). This step makes the most sense if you have the space for it.
A power rack is what turns a barbell setup into a safe, fully functional gym. You need it for squatting and benching without a spotter. The rack’s safety bars catch the weight if you fail a rep. The Titan T-3 (~$400) is the go-to budget option. Don’t buy a rack until you have the barbell and plates to use with it.
If cardio is important to you, a dedicated machine is worth the investment. But it’s listed last because you can always run outside, jump rope ($10), or do bodyweight cardio circuits for free. When you’re ready, a budget exercise bike (~$300), a rowing machine like the Concept2 (~$900), or a folding treadmill (~$500) are all solid options.
Flooring might not be the exciting part of building a home gym, but it’s one of the most important. The right flooring protects your subfloor, reduces noise, provides a stable lifting surface, and makes the whole space feel like a real gym.
Head to your nearest farm supply store (Tractor Supply Co. is the most common) and pick up 3/4-inch rubber horse stall mats. They’re $40-50 per 4x6-foot mat, extremely durable, and practically indestructible. Two mats cover a 4x12-foot area — enough for most rack and bench setups — for under $100.
Fair warning: they smell like rubber for the first week or two. Air them out in the sun before bringing them inside if the smell bothers you.
If you’re not dropping heavy barbells, you don’t need heavy-duty rubber flooring. A large exercise mat (6x4 feet, at least 6mm thick) provides enough protection and cushioning for dumbbell work, bodyweight exercises, and stretching. The BalanceFrom GoYoga mat or similar options run $20-30.
Those colorful interlocking foam tiles look nice and they’re cheap, but they compress too much under heavy loads. Your feet shift during squats, benches feel wobbly, and the tiles separate at the seams when you drag equipment across them. They’re fine for yoga and bodyweight work. They’re terrible for anything involving a loaded barbell.
We’ve seen these mistakes hundreds of times. Learn from other people’s costly errors so you don’t repeat them.
This is the number one beginner mistake. You get excited, drop $2,000 in a single weekend, and three months later half the equipment is gathering dust because you’ve figured out you actually prefer dumbbell training to barbell work (or vice versa). Start with the essentials, train for a few months, and then buy based on what you actually use and enjoy. A home gym should grow with you — not all arrive on the same delivery truck.
A barbell that bends under moderate load isn’t just a waste of money — it’s a safety hazard. Cheap bars (under $80) typically use low-grade steel, have poor knurling that either tears your hands or slips when sweaty, and sleeves that don’t spin properly. Spend at least $120 on a bar (the CAP OB-86B is the floor for acceptable quality). A good barbell lasts a lifetime. A bad one lasts until it bends mid-squat.
Training in a sealed garage in July or a basement with no airflow is miserable — and potentially dangerous. Heat exhaustion is real. At a minimum, get a box fan or two. If your gym is in a garage, train with the door partially open. For basements, a dehumidifier prevents moisture buildup that causes equipment to rust and creates a musty smell that makes you not want to train.
Dropping a barbell directly on concrete cracks the concrete. Dropping it on hardwood destroys the hardwood. And bare floors offer zero protection for the barbell and plates themselves. Even if you’re on a tight budget, throw down at least one horse stall mat under your lifting area. The $40 you spend now saves you hundreds in floor repair later.
Instagram and YouTube are full of $10,000+ garage gyms with matching color-coded equipment, custom logos on the wall, and every accessory imaginable. That’s great content. It’s a terrible template for a beginner. You don’t need a Rogue rack, competition bumper plates, and a GHD machine to get in great shape. You need basic equipment that you actually use consistently. Save the dream gym build for later — after you’ve proven you’ll use it.
New iron plates cost $1.00-1.50 per pound. Used iron plates cost $0.50-0.75 per pound. An iron plate doesn’t get worse with age — a 45 lb plate from 2005 still weighs 45 lbs. Check Facebook Marketplace, Craigslist, and OfferUp before buying anything new. You can often build an entire gym at 50-60% of retail by buying secondhand.
Here are three complete, ready-to-buy shopping lists at different budgets. Every item listed is a proven, well-reviewed pick that we’d recommend to a friend.
A compact, closet-friendly setup that covers the basics. Perfect for beginners, apartment dwellers, or anyone testing the waters before committing to a bigger build.
Total: ~$237 (leaves room for a kettlebell or extra bands)
The sweet spot for most beginners. Quality adjustable dumbbells and a good bench give you a gym that handles just about any dumbbell-based training program.
Total: ~$662 (leaves room for a mirror, fan, or extra accessories)
A complete barbell gym with rack, bench, and enough weight for most intermediate lifters. This is a setup you can train with for years without needing to add anything.
Total: ~$1,012 (leaves room for dip bars, a fan, or extra plates)
In the last few years, a new category of home gym equipment has emerged: smart gyms. These are all-in-one machines with built-in screens, digital resistance, and subscription-based workout programs. They’re sleek, space-efficient, and heavily marketed. But are they worth it for beginners?
Smart gyms use digital resistance (electromagnetic or motor-driven) instead of traditional weight plates. They typically include a touchscreen with guided workouts, track your reps and progress automatically, and adjust resistance on the fly. Popular examples include:
If you have the budget, love guided workouts, and know you won’t outgrow 200 lbs of resistance anytime soon, a smart gym can be a great choice. They’re particularly well-suited for people who want structure and aren’t interested in learning to program their own training.
For most beginners on a budget, though, traditional equipment is the better value. A $700 dumbbell-and-bench setup lasts forever, has no monthly fees, and can be expanded as your needs grow. You can always add a smart component later — a $10/month app on your phone paired with traditional equipment gets you 80% of the smart gym experience at a fraction of the cost.
You can build a functional home gym for as little as $300 with resistance bands, a set of adjustable dumbbells, and a basic exercise mat. A more complete setup with an adjustable bench and a wider range of weights runs around $500–$1,000. If you want a full barbell-and-rack setup with quality flooring, plan for $1,000–$2,000. The good news is you don’t have to buy everything at once — start with the essentials and expand over time.
At a minimum, you need a 5x5-foot area for a basic dumbbell and bodyweight setup. A more complete gym with a power rack and barbell requires at least 8x10 feet, plus ceiling height of at least 8 feet for overhead pressing. For a garage gym with room to move, 10x12 feet is ideal. Even a small apartment corner can work if you choose compact, foldable equipment like adjustable dumbbells and a folding bench.
Start with the equipment that gives you the most exercises per dollar. For most beginners, that means a set of adjustable dumbbells and an adjustable bench. These two pieces alone let you perform hundreds of exercises targeting every muscle group. From there, add resistance bands for warm-ups and accessory work, then consider a pull-up bar. If your goal is heavy strength training, prioritize a barbell, weight plates, and a power rack instead.
For most people, a home gym pays for itself within 1–2 years compared to a gym membership. The average gym membership costs $40–$60 per month ($480–$720 per year), and that’s before gas, parking, and the time spent commuting. A solid home gym setup for $500–$1,000 matches or beats that within the first year — and you never pay monthly fees again. You also eliminate the biggest barrier to consistent exercise: having to go somewhere.
If you’re lifting with a barbell and metal plates, yes — rubber flooring protects your subfloor from damage, reduces noise, and gives you a stable, non-slip surface. Horse stall mats from a farm supply store ($40–50 per 4x6-foot mat) are the most popular budget option and work just as well as branded gym flooring. If you’re only doing dumbbell and bodyweight exercises, a thick exercise mat ($20–30) is usually sufficient.
A detailed breakdown of exactly what to buy if you have $500 to spend. Three proven setups for every training style and space constraint.
Three complete setups under a thousand dollars. Barbell, dumbbell, and cardio-combo builds with full shopping lists and budget breakdowns.
Our top-ranked home gym machines and setups for every budget and goal. Detailed reviews, specs, and side-by-side comparisons.